Lift Table

A New Lift Table
In order to avoid wreaking too much havoc on this old body, it was necessary to accessorize the workshop with some goodies. The first was a spiffy motorcycle lift table from Harbor Freight. The original plan was to build a custom lift, but in the interest of moving forward with the chopper build, the purchase was made.
Modifications
Although there were mixed reviews on this lift, it seemed like a reasonable gamble. After stacking some coupons, it was about a $250 setback. Several reviews recommended several modifications to make the lift truly useful.
Front Wheel Chock
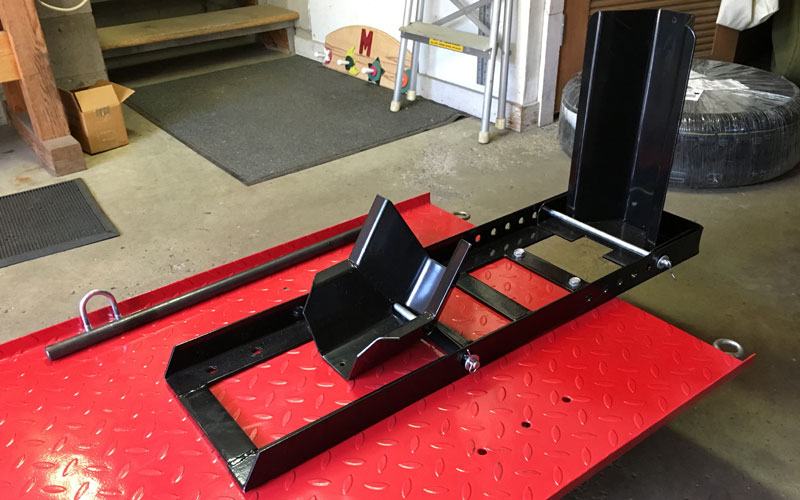
Reviews suggested that the front wheel chock that comes with the lift is a bit lame. Since it doesn’t adequately support the bike on it’s own, it’s a bit dangerous to load the bike and secure the tie-downs. A simple solution was to purchase a front wheel chock upgrade, also from Harbor Freight, and secure it to the lift table. Huge improvement.
Loading Ramp
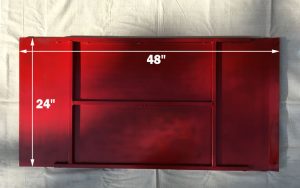
 Reviews also suggested that the loading ramp was a bit short. This was verified on the first attempt to load/unload the Sportster onto the ramp. The bike bottomed out, both up and down. The solution was to build a custom ramp that was 48” long (original ramp length was 20”).
Front Tie Down Loops
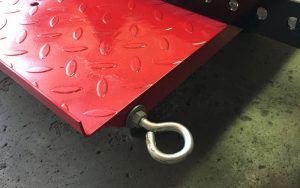
 Once the initial modifications were complete, it was apparent that the tie-downs provided on the ramp (2 on each side) were not sufficient since they were a bit too far back after the installation of the new front wheel chock. The solution was to mount a couple of heavy duty eye bolts in the mounting holes provided on the front of the lift table.
Front Stabilizer Feet
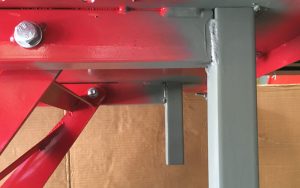
 Finally, when the lift table is fully lowered, the front end of the lift table extends well beyond the supports underneath the lift (front wheels and stabilizer feet). Stepping on the front of the lift table in this position caused the whole lift to tip forward. The solution was to measure, cut and weld some square tubing on the underside of the front of the lift table to provide additional support. A little primer (and later, some bright red paint) and we’re ready to rock.